
Quick Start Guide
This guide walks you through creating a project, selecting a deployment path, launching your application container, and securing public or private access.
Before You Begin
To follow this guide, you will need:
- A Hubfly space account (sign up via dashboard)
- A project workspace created in your preferred deployment region
- One of the following deployment sources:
- A GitHub or self-hosted Git repository
- A published Docker image reference (e.g.
nginx:latestorghcr.io/org/app:v1) - A curated Hubfly space application or database template
Step 1: Create A Project
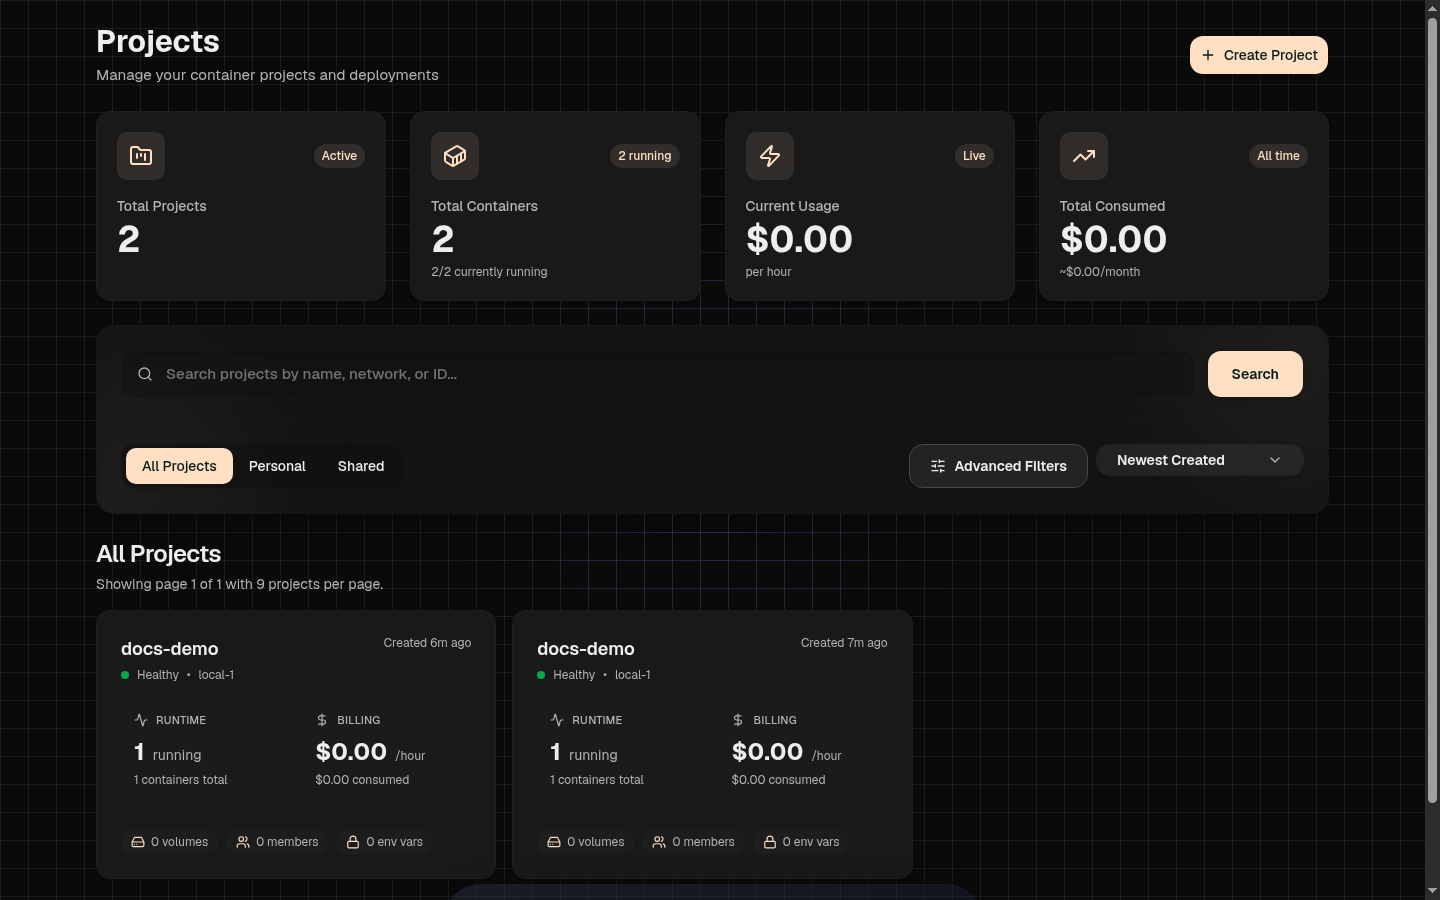
Projects act as logical isolation boundaries for containers, persistent volumes, environment variables, internal networks, and billing.
1Open the Dashboard
Log into the Hubfly space dashboard and click New Project from the overview page.
2Name & Choose Region
Give your project a name (e.g. production-api) and choose the deployment region closest to your end users for optimal network latency.
Step 2: Choose A Deployment Path
Hubfly space supports three primary single-container deployment workflows depending on where your code lives.
Option A: Deploy from GitHub
Best for application repositories with automated buildsUse this path when your code lives on GitHub. Hubfly space Builder will automatically detect your framework (Node.js, Python, Go, Rust, Ruby, PHP) or use your repository's Dockerfile.
- Open your project and click New Container.
- Select Git Repository.
- Pick your GitHub repository and select the target branch (e.g.
main). - Optionally set a
Root Directoryif your app lives in a monorepo subdirectory. - Configure environment variables, CPU/RAM resources, and click Deploy.
Option B: Deploy from Docker Image
Best for prebuilt container images or official toolsUse this path when you already publish built images to Docker Hub, GHCR, GitLab Registry, or private OCI registries.
- Open New Container and choose Docker Image.
- Enter the image tag (e.g.,
nginx:latestorghcr.io/acme/app:v1.2.0). - Add registry credentials if pulling from a private registry.
- Optionally override entrypoint or command arguments, set container port, and deploy.
Option C: Deploy from Template
Best for instant databases and common open-source toolsUse this path when you need a pre-configured service like PostgreSQL, Redis, MongoDB, Nginx, or MinIO.
- Open New Container and select Template.
- Search the marketplace and select a starter template (e.g.
PostgreSQL). - Review prefilled ports, environment variables, and persistent storage mounts.
- Click Deploy to launch.
Step 3: Post-Deployment Actions
Once your container status turns running, you can perform common administrative tasks:
- Add a Public Endpoint: Expose HTTP port 80/3000 to the internet with automated SSL certificates.
- Attach a Custom Domain: Connect your owned domain (e.g.
api.example.com) with CNAME DNS records. - Open Real-Time Logs: Tail container stdout/stderr output directly in the dashboard reader.
- Open a HubTunnel: Establish a secure SSH port-forward to private databases without exposing public ports.
Multi-Service Applications